January 16, 2014

LAMPSHADE DIY EASY AS 1 2 3

LAMPSHADES are all the go this season and there are some spectacular pieces out there to buy. Have you ever considered making one yourself. I'm no electrician so I'll be buying the lamp side of things from experts but the shade is up for grabs by anyone with an inkling of creativity... or simple 'get up and go' motivation.

Today I am going to show you the Do It Yourself Box Lampshade. Be warned this is MY FIRST ATTEMPT .... late at night... with a couple of wines in me .... and it still stands!!!

STEP 1
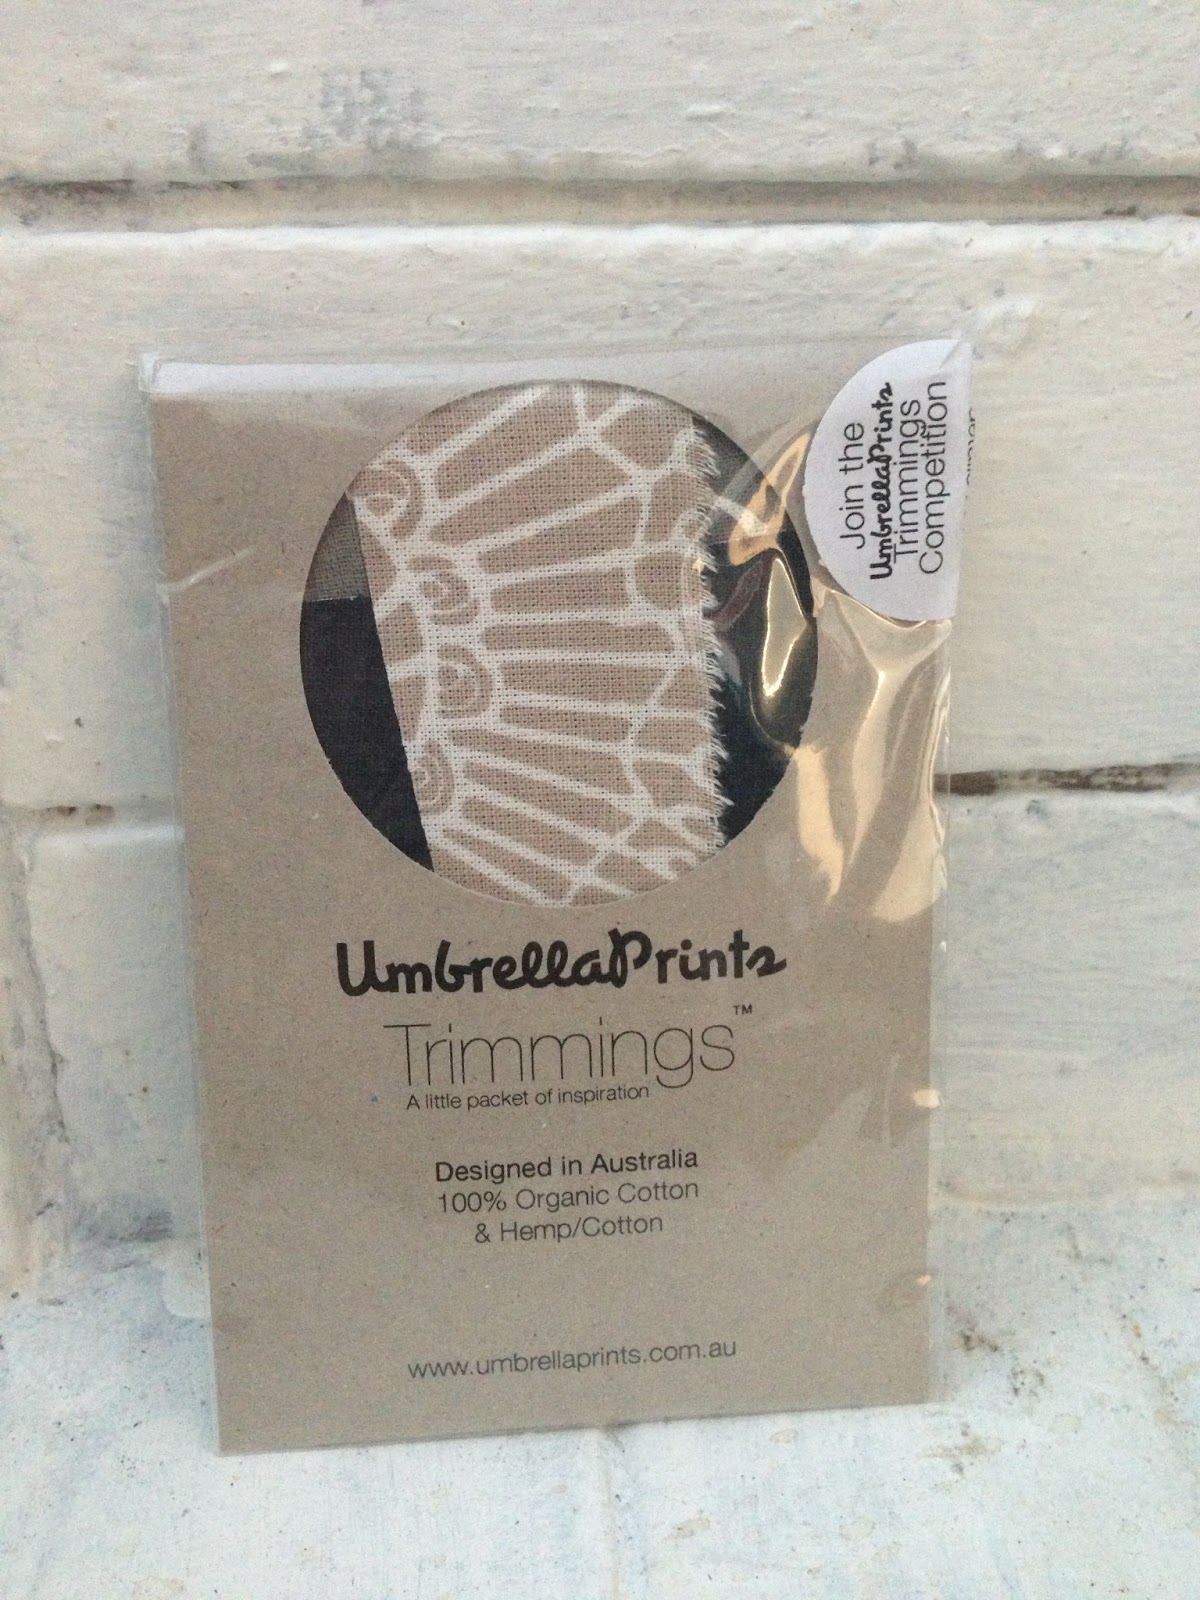
Find yourself an awesome Kit already prepped for you to start this DIY journey. I bought mine from a gorgeous fabric shop in Milton NSW. 'My Patch' www.mypatchfabrics.com.au is a quaint little country house decked out in awesome designer fabrics including Australian made including mine.
My Patch Lampshade Kit. (photo courtesy of My Patch)
STEP 2
Open the kit and have a good read of the instructions and study the materials you have to handle. You will need to add your choice of fabric so go to your stash and grab something AMAZING! What is inside the box..... Lampshade Wires, Laminated Adhesive Paper, Bone Fold Tool, Double Sided Tape, Craft Glue and Instructions!! I particularly like the Pizza box packaging because I can reuse it for other projects instead of throwing into the bin.


STEP 3
Follow the instructions carefully. I won't name them all but I will show you important steps that got me from box to lamp shade.

Very important to cut your fabric slightly larger than the Laminated Adhesive paper because you will stick the two together like covering a text book....easy! (This is explained in detail in the instruction pamphlet). Make sure your fabric is flat with no creases or folds. Ironing it would be the best thing to do.
Using my Elemental Rain Drops Design printed on Kona Cotton

STEP 4
Place the double sided tape on the outside edge of both lampshade rings. No need to be fussy here as long as it goes all the way around. Peel now or peel when required. Ive just set mine aside in case I find it stuck to my leg when I'm not looking...yes that happens at my place.


STEP 5
Laminate the back of your fabric using the same technique as contacting text books. Peel a little and flatten a little making sure there are no lumps bumps bubbles and troubles. You can see that I have an overhang of fabric on the long sides of the Adhesive paper. You need this to wrap around the Lampshade Wire. You can trim these down to 1/2" but no less. Trim the short end of the fabric to be flush with the Adhesive Paper.
Laminating the back of your fabric.

Trimming the excess fabric from the short end.

Trimming the overhang of fabric to approx 1/2"
Step 6
Add the Double Sided Tape to the short end of the laminated fabric. One end on the fabric side and the other end on the laminate side. Trim off excess tape. Don't peel the top of the tape off just yet. Now take both of your lampshade wires (with the tape peeled back to reveal the sticky edge) and place on the inside of the fabric on the very edge of the Adhesive paper (both long edges). It gets a little fiddly but you can do this by yourself or have an extra pair of hands helping. Roll the sticky edge of the Lampshade Wires along the edge of the fabric until the drum folds over itself. Peel off the tape at the ends of the fabric so the join sticks together and flatten along the join to ensure its adhered with no lumps bumps and errors.

Double Sided Tape on the short end.
Rolling the wires along the laminated edge.

Make sure the join has adhered to a full closed position.

STEP 7
Using the craft glue and your Bone Fold Tool turn the 1/2" excess of fabric around the wire and push between the wire and laminate from the inside for a clean finish. In times of struggle add a little more glue and give up on tucking it under and simply press down to flatten.... have another wine perhaps.

Bone Tool demo (where we have not tucked the excess between the wire and laminate)

Finished product with all tucking completed.


VOILA
You did it... now check you didn't put one of the wires upside down because you'll be kicking yourself at this point. ... blame the wine.... luckily I got it right the first time.

8" lamp shade posing with Scarlett & Lily Doll
FAQs
How long did it take? 1 hr 
How much did it cost? This depends on your choice of Kit and fabric. You cannot put a price on achieving such a clever skill... but not much at all.
How would you rate the skill level? Easy to medium. There are fiddly parts which require focus but this is certainly an easy project.
Where can I buy this kit? Check out My Patch Fabrics
That's a really cute doll where can I get one? Check out Scarlett & Lily
Can I buy your Lampshade? Why of course. If you would like a custom made in 8", 12" or 16" using any of my fabrics simply email me at natalie@nytf.com.au, find me on Facebook or purchase through my website www.nytf.com.au


October 29, 2013

FINDING THAT MOMENT...NOT JUST THAT MOMENT BUT 'THAT' MOMENT

FINDING THAT MOMENT

Ok what the *&^% is she going on about???? Yes well there is sanity and then there is ME.
Busy times ahead I fear. Excitement! Experimentation! Goose Bumps! OMG moment! Sleepless nights! aching muscles! and a deep sense of achievement...
                                      ..................A Deep Sense of Achievement................

Ok so I will spill the beans......

1. Finished Module 1 'Surface Pattern Design'

5 weeks of bliss, excitement and exhilaration.... and to mention creativity. I obtained a mountain of knowledge and skill which not only has impacted positively on my creativity but has given me the boost I need to move forward and test the waters. In my last blog I showcased some designs that I had created during the course. Now I would love to show you the finale of this module. The support network and positive feedback I have received (as all the other candidates received) is overwhelming.
During this course I was inspired to enter competitions...... some finalised and some still awaiting results. I did not enter them believing I'm a winner but more so to feel like I belonged to a community of creative people.

Elemental Design

Dress using the Elemental Range
 The Elemental Design has been chosen as one of this weeks TRENDING fabrics on Spoonflower.com you can purchase direct from their website.


Dress using the Bloom Range

Bloom Design
2. I entered the Ohh Deer Pillow Fight II Competition (based on cushion entries):
Rain Drops Design

Elemental Rain

Insight Main
3. I entered the MOYO competition (theme - Winter Mornings):
Out in the Cold

Sunrise

Winter Blizzard
4.  I created another design to work cohesively with my Elemental Range of fabrics. I introduce 'Rain Drops'!!! This design has been very successful and is currently under print with several orders already on the way..... exciting!!!
Rain Drops

5. I have FINALLY completed what I believe to be the latest LOGO for NYTF. I had considerable help with my Module 1 students and exhausted Dafont.com with viewings of everything they had to offer. I would love your feedback on my new logo.

6.... and finally I entered the Stitched Postcard Swap. This was my first attempt. 
The theme : Celebration.
I was fortunate enough to have my Postcard buddy to be Jen Cook from Canada. She was so gracious to send me this photograph of her holding my Postcard and her kind and wonderful words regarding my efforts were humbling.... thanks Jen. I'm sooooo excited with anticipation to receive her Postcard and will surely give you all a sneak peek once it arrives.


As much as I should be promoting my postcard I'm IN LOVE with the painting behind Jen..... so mysterious.
WHOOPS YOU WOULD THINK I KNEW MY OWN EMAIL!!! I have updated my email link below.
Thank you again for your valuable time reading this blog. If you managed to get this far then you will be happy to know I have a little surprise for you. Email the word 'Elemental' to natalie@nytf.com.au to receive your surprise.

PS: Very excited about Module 2 starting next month woot woot.

Cheers,
Natalie Yates

September 15, 2013

Amazing Things Are Happening

SQUEAL!!!!

I may have been M.I.A. for a while but Ive certainly not been hiding. I decided to make sense of what I am doing, what styles I am honing in on and what my next professional goal will be (I have several).

I have immersed myself in course after course after course. Not because I'm lost in the medium but because there is so much more to learn that can only improve, embrace and grow your business. Sound exciting? well I'm excited!!.

I have recently completed a Yardage Course and Photoshop/Illustrator essentials with Steve Woods  Print Classes at Arcade Screen Printing This is a very real and confronting course that will get your screen printing mojo working to unexpected extremes (and good ones at that). During this class I was able to design (or at least attempt to design) two new fabric ranges. I tried and tested several, mind you failed at many, but I ended with two that I felt would work aesthetically. I'll reveal only one today.......

Testing my new Rain Drop design
Rain Drop design release late 2013
 I am currently enrolled in a Surface Pattern Design Course with Do What You Love For Life. This UK born website offers AMAZING e-courses for all stages of your creative lifestyle. This is a course not to be sneezed at....or snoozed at because its filled with daily exercises, fantastic interviews, and most importantly a support network designed specifically for your group to share and encourage. I have learned a lot about my aesthetic design and have found a whole new world of untapped interest and talent I didn't know I had.

Learning about identifying patterns within our everyday life and converting them to art!!! What fun! Its so simple its right there in front of our faces. Check out some 'scribble' exercises I did and how I converted them through Photoshop and Illustrator into layered designs (something I could not do before).

Sketched leaves.
From a drawing to a repeat pattern


Singular Motifs coloured (Bloom 2013)

Motifs repeated (Bloom 2013)

Even more daring is taking it into greater depths... literally. I have always struggled with multi coloured designs both traditionally with screen printing and now digitally. But alas this current course has shown me how to colour and layer in the same space..... YAY for me. I'm now totally addicted to Surface Pattern Design. The potential is refreshingly overwhelming!!

Voila!!! (unnamed 2013)
PS: Can I just add that prior to this course I hated drawing flowers. Never really liked them as a subject matter in my own style. Now I've learned how to take something I am not fond of and turn it into art.

Would love your comments on my latest adventure and progress. It's all in its initial stages and very experimental but the journey is incredible.

May 26, 2013

PERSONALISING YOUR CREATIVITY

Wow, its certainly been a while since I last posted. This year has been very demanding, and totally awesome!!!!
"So what have I been up to?" you ask........

WILD ONES MARKET
I have recently attended my third Wild Ones Market show casing my fabrics and wares. This has been a very successful networking opportunity and an amazing market to find gorgeous, talented and extremely artistic people, and the like, in the world of Handmade! So much so that I was invited by Hazelhurst Gallery, Gymea (where the markets are held) to supply my wares to their Gallery Shop. So honored!!! 


UMBRELLA PRINTS COMPETITION
I recently entered the Umbrella Prints Fabric Competition. Umbrella Prints is an amazing hand screen printed fabric company with gorgeous designs. I purchased two fabric packs (in case I stuffed up the first....) and decided after much deliberation to design my latest product 'Photo Bunting'.

Using the Umbrella Prints fabric I sewed the bunting flag edges. I backed the flags with a linen fabric matching the weight of the feature fabrics and used a clear plastic sheeting to form the 'see through' portion of the photo. It was all trial an error and I have learned a lot from the process. I would love to hear your feedback on my new Photo Bunting.

I will soon be making these using my own fabrics so keep an eye out for them in the near future.


MAKING SOFTIES
I'm a big kid at heart and often live vicariously through my children. My latest creative task was to design a softie for my youngest daughter, Mia. She is a stickler for Owls..... and so am I (just not so borderline crazy like Nina in Offspring). Soooooo, I put together an idea, drew up a pattern and using cute fabric scraps from some of my favourite designers (@Saffron Craig, @Daisy Janie) I whipped up Miss Owly. These are available for sale upon request.


August 06, 2012

CONSISTENT PRESSURE

Oh no! I'm not referring to the pressure of stress, work and life. I'm talking about the physical pressure when squeegeeing your prints onto fabric. This was one of the very relevant techniques I learned at Thea & Sami's Screen Printing Workshop ( www.thea-sami.com.au ).

This past month I have been focusing my inner creativity with outer experiences and oh boy!
I spent a day with Thea getting practical advice and technique in the repeat application of yardage printing. Repeats are very tricky when you first start playing around but as I learned there are simple tricks of the trade that help you along the way.

Already having previous training in Print Making gave me the confidence to enter a workable studio and print under instruction..... though this certainly was not necessary for Thea's Workshop. She takes you through step by step from design concept through to repeat prints and is a great course for anyone who wants to dabble in printing.

Here I am with Thea having a go! 
 
This is where 'consistent pressure' is required when passing the squeegee from one person to another and back again. The same pressure is important for the print to be inked consistently from top to bottom and again on each repeat.

EQUIPMENT
Repeat printing can cause baldness..... from ripping out your hair!! 
By following some useful techniques I discovered how your yardage printing will be perfect each time. Two steps that I really 'absorbed' were the correct placement of fabric, stretched tightly and evenly along your table and fixed into place using 'T PINS'- (oh, T Pins are my new best friend), and the registration of your print using specific tools of the trade. Over the years Ive observed different techniques of which each work effectively well. I'm not planning to go into any length of detail on these steps, I'll leave that to the experts (Thanks Thea!!). What I do have is a visual of what tools of the trade are being used to get perfect repeats.


Here is an insight to what is required:
Registration Rail/Bar - gives you a perfect straight line to guide your screen along the length of the fabric.
Repeat Blocks/Clamps - These are movable blocks that are fixed into place once you have measured your repeat perfectly.
T Pins - aka bestie! These are special pins that when inserted almost horizontally will fix your fabric into place. No more masking tape or wastage yippee!
Registration Clamp - This is a fixed clamp on the screen that butts up against your registration rail for consistent printing along the length of the fabric. They work in conjunction with the Repeat Blocks. Ingenious!
Screen & Table - too obvious!
 
AWESOME!!! Approx 10 metres of fabric printed perfectly.
(Thea & Sami's Cottage Garden Design)

I had a great time, met some wonderful creative people and came away much better prepared to set up my own workspace.
To check out Thea & Sami's 2 day workshop course dates head on over to www.thea-sami.com.au 
Once back into the swing of things I adapted these techniques with what tools I had on hand and worked on yet another print. Hope you like my Pebbles in Line.


June 10, 2012

DINNER PARTY

PLAYING WITH REPEATS POSES A CHALLENGE.......BRING IT ON


I had the pleasure of creating something special for my friend, Joanne, for her birthday today. What do you give someone who tends to buy what they need when they need it???? Something special from the heart.

This organic design has been swimming around my head for some time now in many different formats until I had a dream.... lately my dreams have been very descriptive and visual and have created masterpieces which I then struggle to remember when my eyes open.

I wanted to do a print that was large (using up the entire space of my screen) but posed the problem of having to tape together 4 pieces of Easy Cut to achieve such a size. Long story short is that my repeat didn't quite 'repeat'. "Must practice this more"...... I had to do some hand painted adjustments after screening the print to fix the errors.

The final product looks great but I encountered the following:
* Need a bigger bloody table to screen on!!! ha ha ha
* Need to perfect the repeat on this particular design
* Must use a lot more ink (using a small tub just doesn't cut it)
* When mixing white to a colour make sure its not thick like jelly as it just doesn't mix well and causes white marks when printing.

PEBBLE STREAM TABLE RUNNER & NAPKINS

The final product is a 1.8m table runner and 8 napkins. Purple on 100% linen.
Happy Birthday Jo!

May 18, 2012

MY FIRST COMPETITION ENTERED

I'm very excited to announce that I am (excitedly) entering my very first fabric design competition through www.spoonflower.com under the 'Motorcycle' category. I thought this would be a great opportunity to play around with a design that is out of the norm for me. So I'm entering the unknown in a hope to bedazzle! and excite!......  and win!
Motorcycle Main
 Competition opens for voting on/thereafter 22nd May 2012. I would love for you to vote for my design and if it gets a huge response I will have it printed into a range of fabrics. EXCITING!!!